
DEAD RISING 4
Company
Capcom Game Studio Vancouver
Role
Mission Designer
Platform
Xbox One, PS4, PC
Tech
Forge Engine, MissionScript (proprietary)
Design Skills
Missions, Levels, Narrative, Gameplay, Leadership
Missions
Levels
Gameplay
Narrative
Leadership
Being a Mission Designer on Dead Rising 4 was a challenging yet fulfilling experience. Changes to gameplay, story, and characters throughout development necessitated quick thinking, strong coordination, and not being precious about our designs. My additional skills in storytelling, prototyping, documentation, and coordination were constantly in use.
Across many iterations of the game, I designed over 15 mission experiences, prototyped various items, objects, puzzles, and features, set up zombie and item layouts, and even trained and mentored new designers. I eventually came to own, design, and implement the final chapter of the game.
MISSION DESIGN
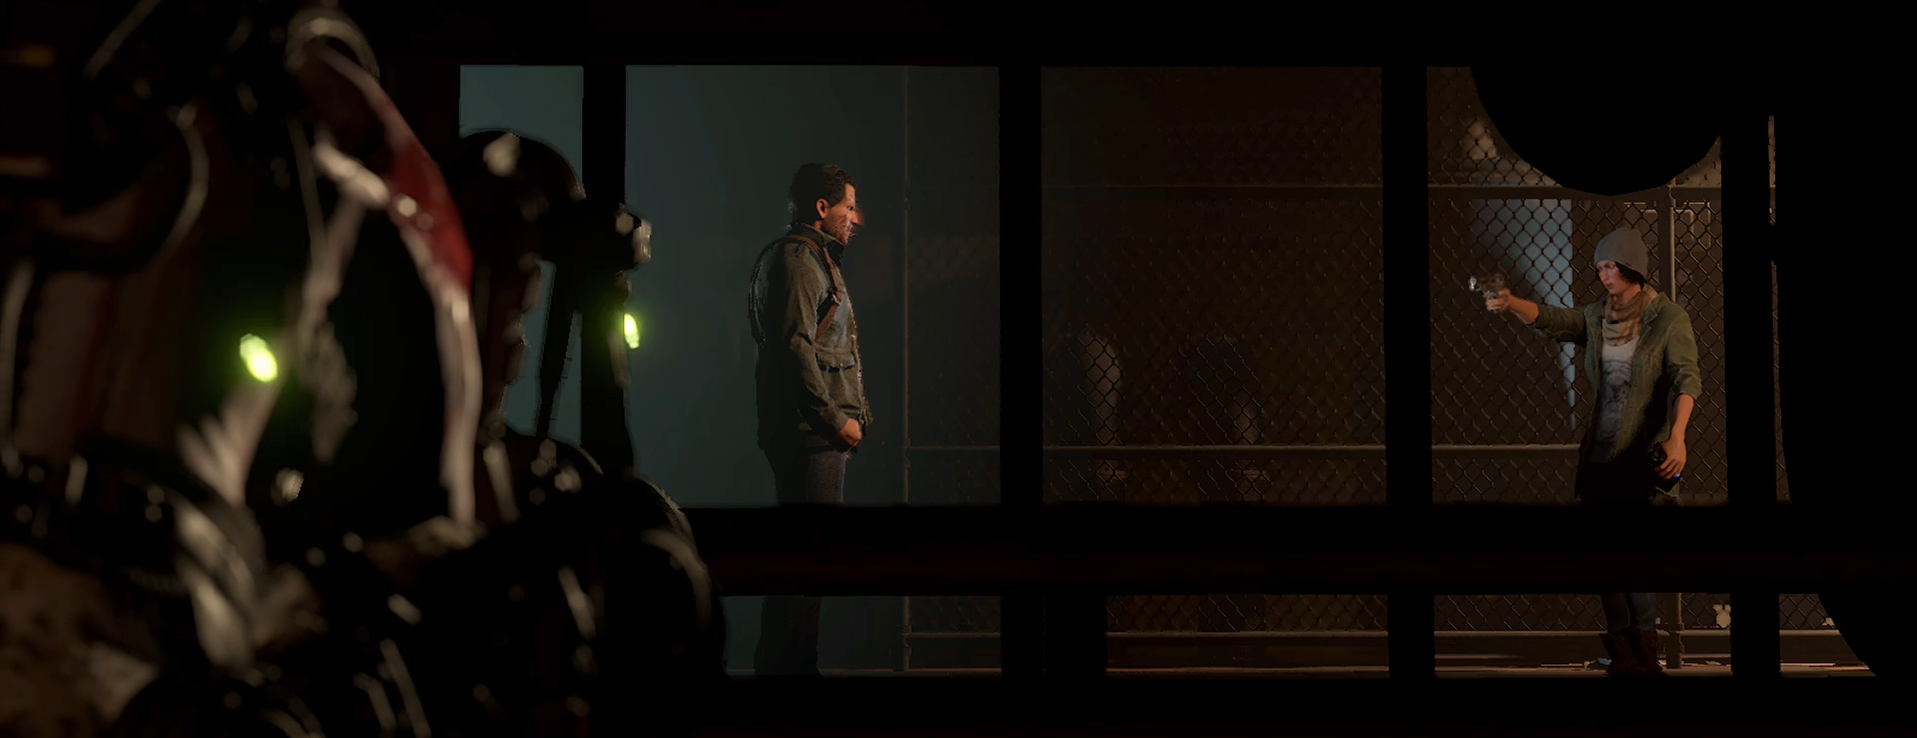
Case 6 - The Final Chapter of the Game
When I volunteered to take on Case 6, it was one of the least fleshed out missions. It needed a final boss design and for several narrative threads to be tied up. I coordinated with the writers, Senior Level Designer, AI designers, and other departments to pull the vision together. The result is a bespoke chase scene, bombastic final boss, and a zombie horde last stand to cap off our zombie game with a bang.
Case 6-1 - The Chase
My goal for the Case 6-1 was to keep the momentum going from the end of Case 5 until hitting the final boss battle in 6-2. This heavily afforded a chase moment with Vick, who had just stolen Frank West’s camera (a collection of all your game progress).
- Worked with AI Designer to develop a robust NPC way-pointing system. This feature ended up being used to polish and improve many other missions and boss fights.
- Worked with AI Designers to set up a mission triggerable NPC throwing mechanic. While chasing Vick, she throws custom flash grenades to stun you temporarily. They trigger at specific distance and location thresholds.
- Worked with UI engineers to design a chase meter to display your distance from Vick. A Game Over would trigger if you lost too much ground, but the way-pointing behaviour was set up to slow Vick down in these cases.
- Set up bespoke dialogue and flash grenade triggers based on distance from target and current position in the overall chase.
- Set specific zombie horde obstacles to establish multiple chase paths.
- Set up bespoke chapter 6 level gating and dynamically triggered shutter closures to ensure players couldn’t break the end experience.
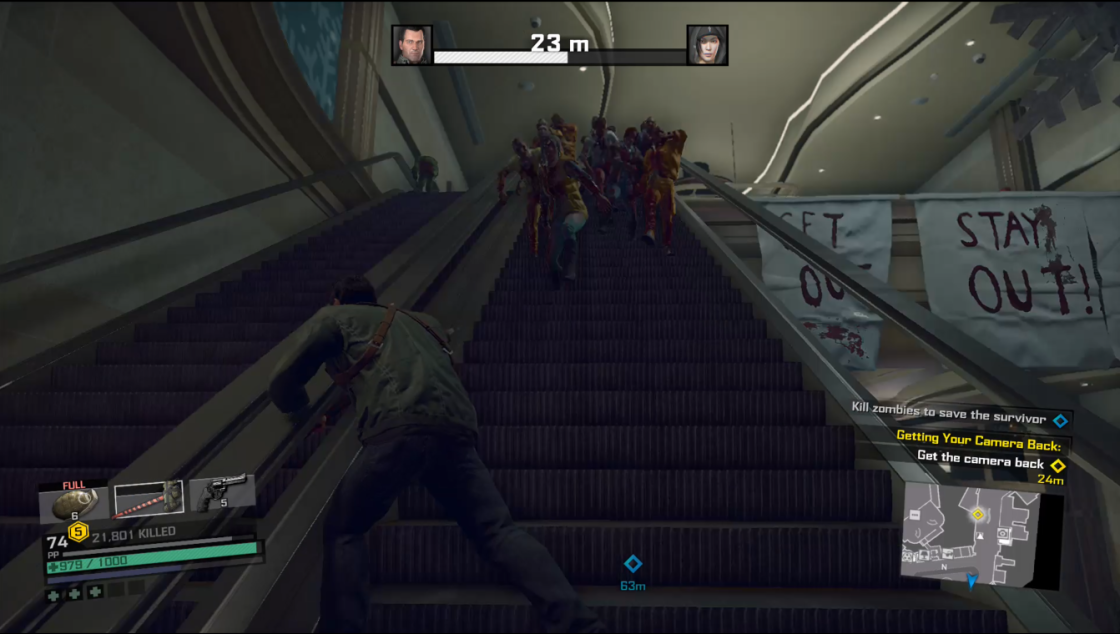
Chase - Escalator jockeying
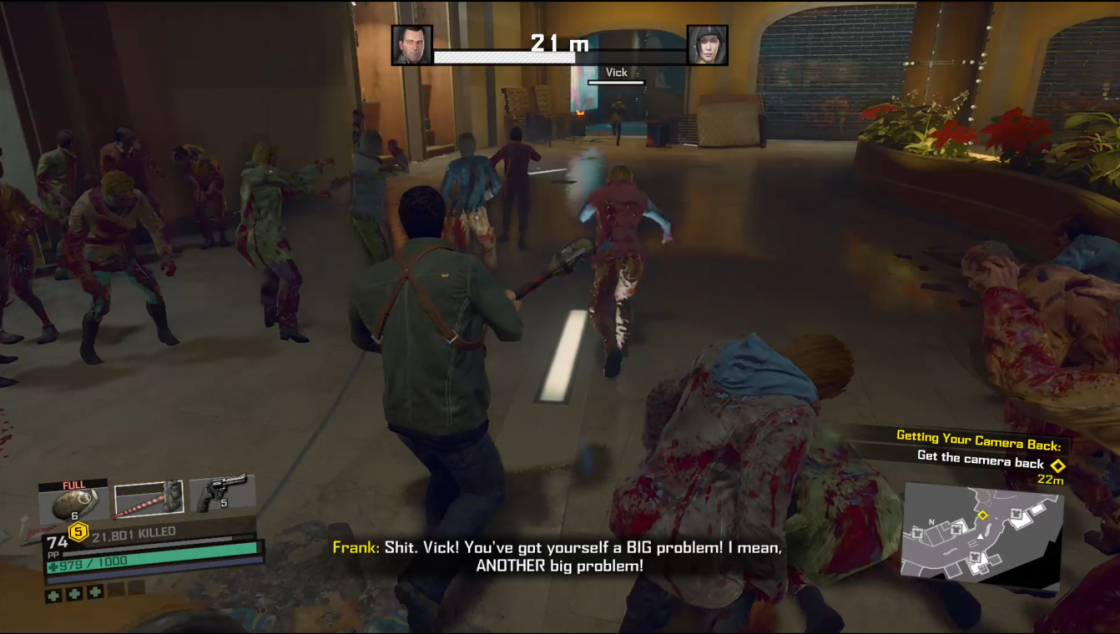
Chase - Dodging zombies near Caribbean Cove
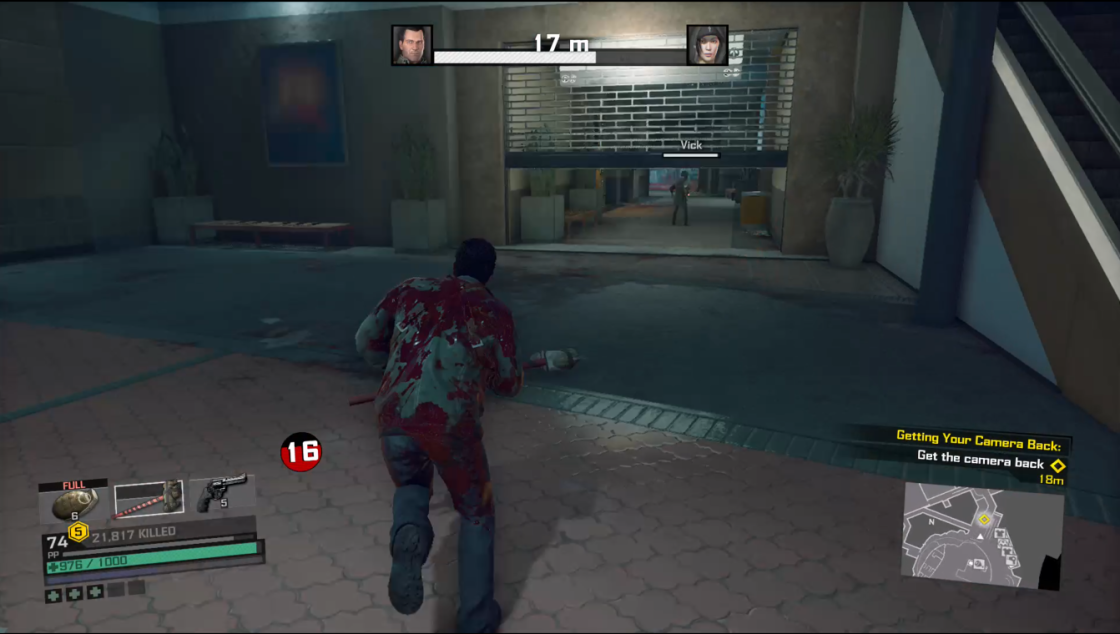
Chase - Vick closing a gate to block your way
Case 6-2 - Calder: The Final Boss Fight
My goal for the final Calder boss experience was to provide a gameplay x narrative catharsis to the Calder and Vick storylines and give a final showdown with the Exo Suit feature. Working with an AI Designer, Level Designer, and the writers, I designed a fight with several phases to achieve that goal.
- Phase 1: Base Frank v Exo-Suit Calder – Whatever tools the player has left over from the end of Chapter 5 is what they’re bringing into this fight. Most of the equipment in the initial area is low-value, and Calder is given a hidden defense and attack boost to make a 1-on-1 fight with Calder seem impossible.
- Phase 2: Exo-Suit v Exo-Suit – After a short time, Vick will start opening shuttered shops in the mall arena, allowing access to an Exo-Suit and Christmas Themed Exo-Suit weapons. Calder’s hidden defense and attack boosts are removed, allowing the player to actually damage the boss.
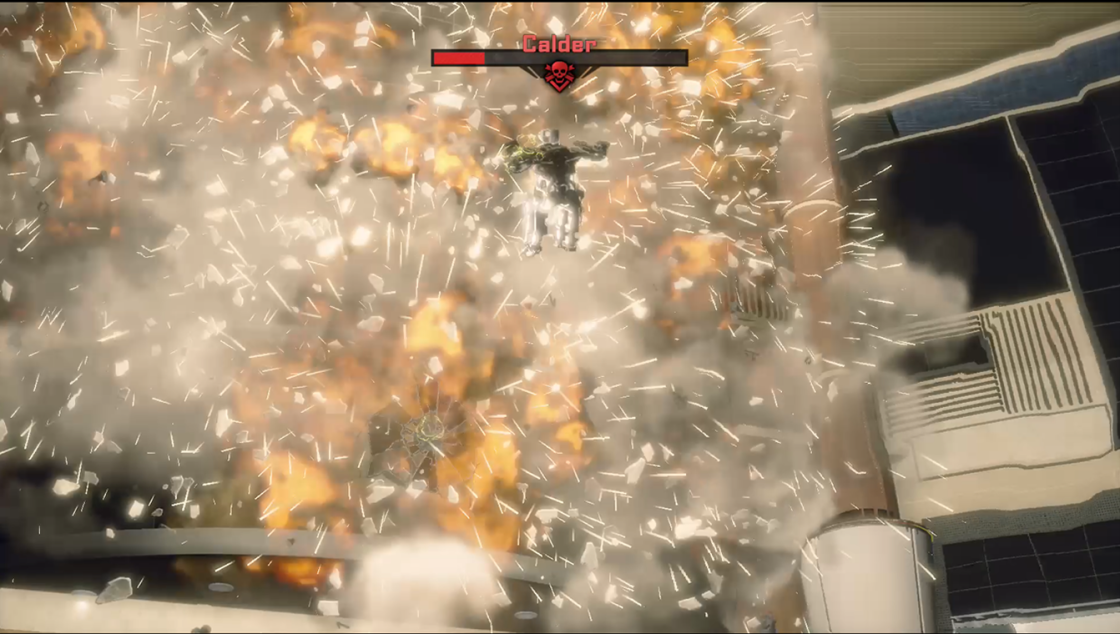
- Phase 3a/b/c: Zombie Waves - After enough damage, Calder will launch onto one of the three huge monitors in the mall arena and begin powering his own Exo-Suit back up (health recovery). Hordes of zombies and evo-zombies will spawn from nearby spawn closets, giving the player a zombie-smashing pallet cleanser. Vick triggers an off-screen electrical short, blasting Calder off the screen and stopping his health recovery (this is triggered by killing the evo-zombies that spawned, allowing the player to have a way to blast Calder off early). Each short that is triggered shuts off a section of the arena’s lighting, providing a distinct visual indication of progress and destruction.
- Calder’s charge happens two more times. The final time happening on the largest monitor in the plaza. Vick also comes out to a fuse box just outside the arena so you can see her in action. When she shorts the monitor, blasting Calder off, she too is electrocuted and knocked out.
- Phase 4: Final Brawl - Frank expresses concern over Vick’s condition, and rage toward Calder. Calder’s defenses are lowered, and his animations, attacks, and model are changed to show a very shorted out, near death boss. The player gets a chance to wail on him with impunity, giving a satisfying end to the big bad behind many moments of the game.
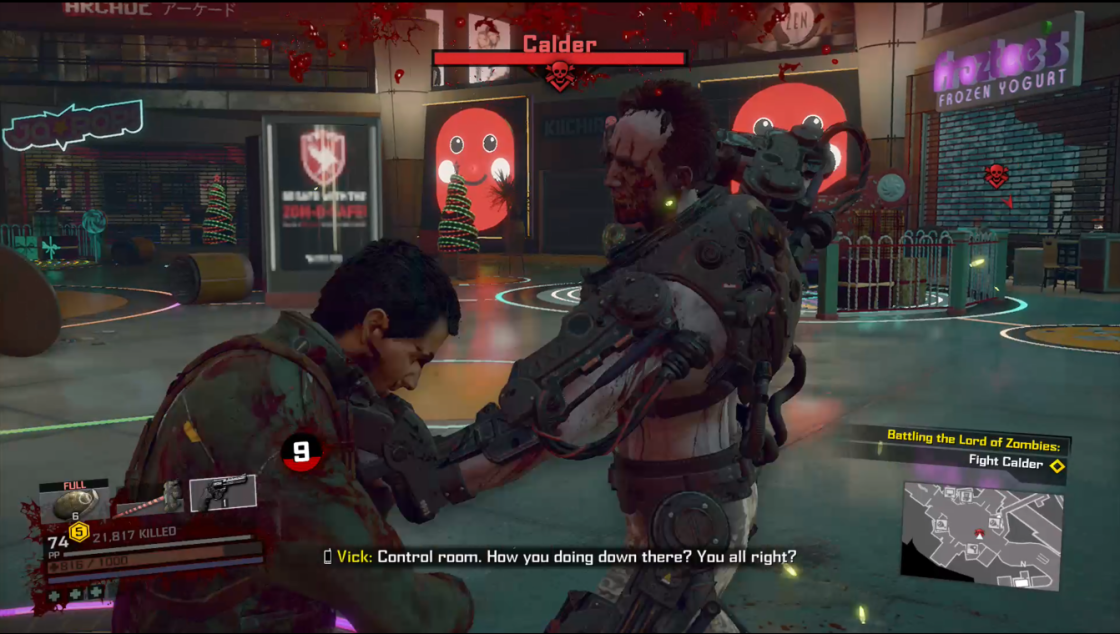
Phase 1 - Calder grabbing base Frank
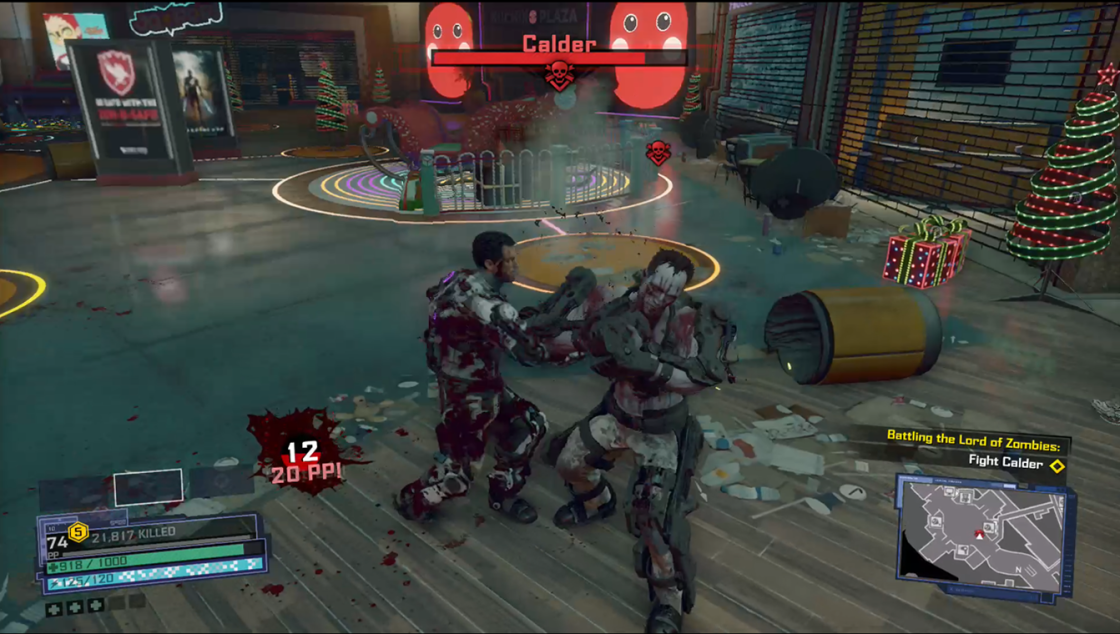
Phase 2 - Exo-suit v Exo-suit
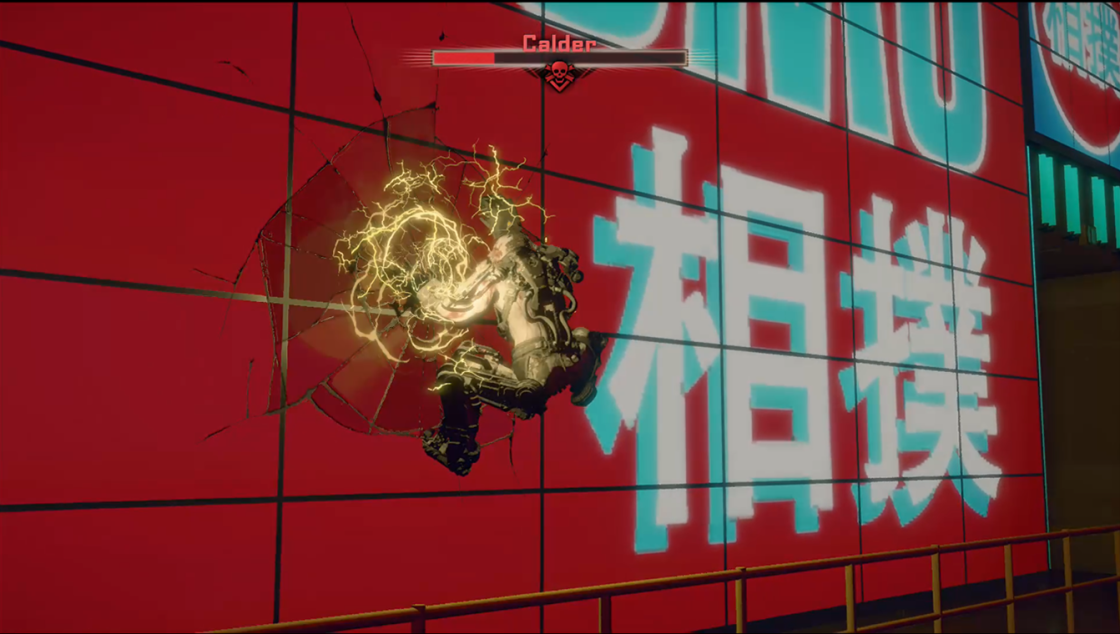
Phase 3 - Jumbo TV health recharging
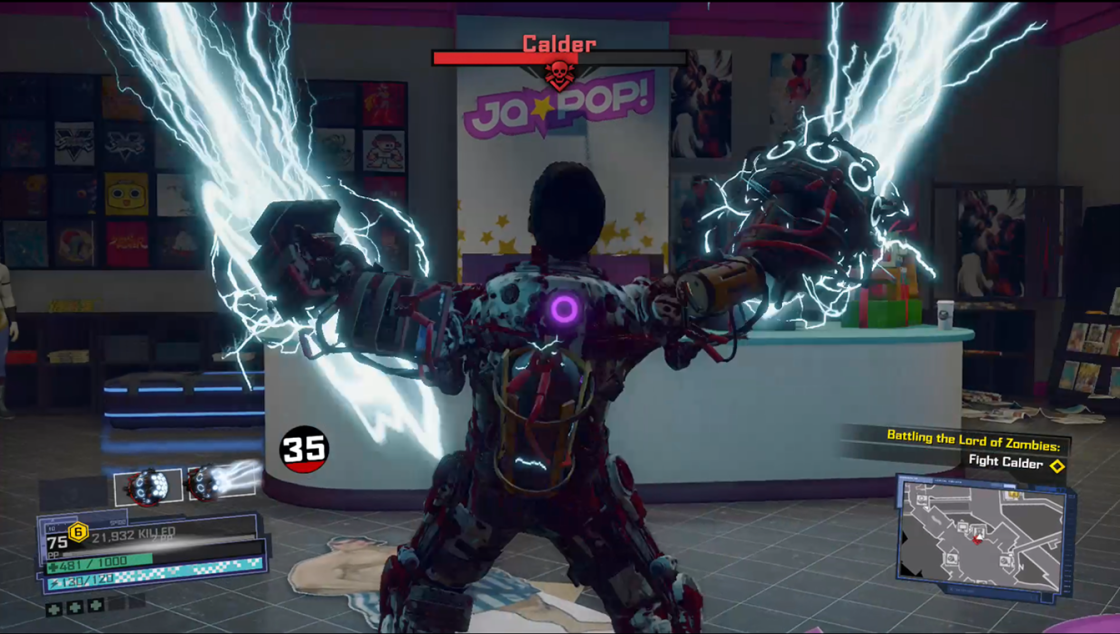
Phase 3 - Exo-suit electric power-up
Phase 4 - Calder being blasted off the Jumbo TV
Case 6-3 - The Last Stand
I was adamant that the final game moment needed to end with a huge zombie horde showcase. Everyone agreed, but the resources were scarce. I spent a lot of extra hours researching, prototyping, level designing, and pushing our zombie tech to the limits to bring this moment to life. In the end, many on the team heralded it as the coolest moment of the game.
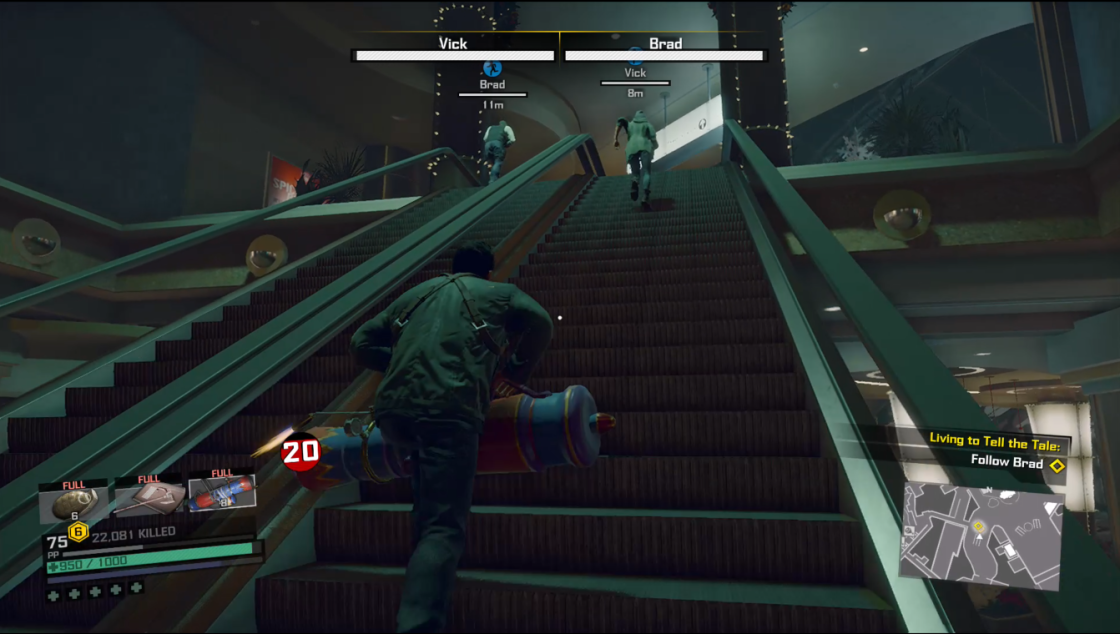
- Set up an easy down-beat escort mission with Vick and Brad (partner from earlier in the game) to allow for character bonding and resource collection.
- Used NPC way-pointing tech to maneuver 2 NPCs simultaneously. Set up waypoints, banter triggers, and zombie spawns based on player progress towards target location.
- Designed last stand area and coordinated with Environment Artists to get the new area integrated in a simple, low-cost way.
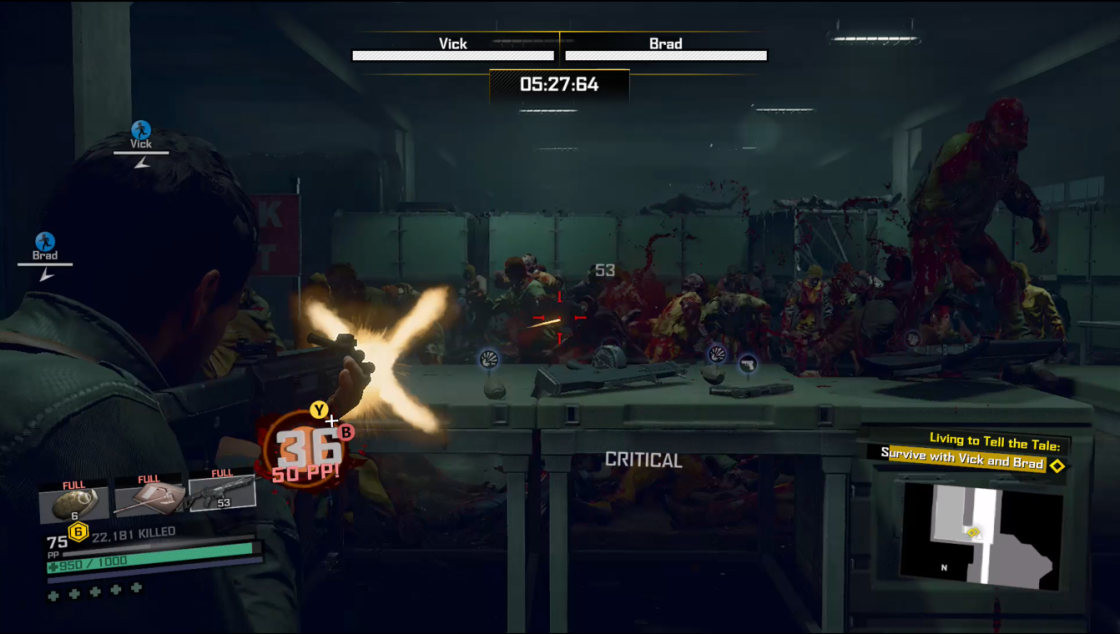
- Maximized zombie spawn numbers to ensure player is constantly inundated by zombies. Changed the spawn locations and zombie types based on player location and encounter progression.
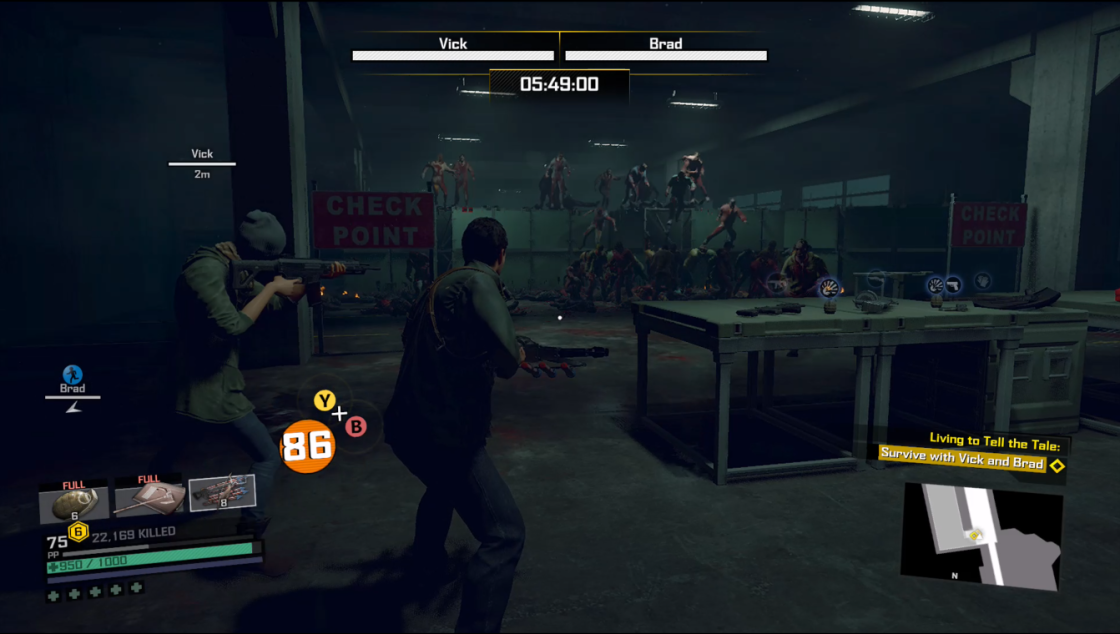
- Designed parking garage roof layout into 3 sections to create the feeling progression, desperation, and to allow the zombie spawning to feel more numerous than they technically were.
- Set up NPC health loss triggers when player got too far away from allies to ensure players don’t break the encounter by running away.
Case 6-3 Multi-NPC Pathing
Last Stand Area 1 - Parking Garage Barricade
Last Stand Area 1 - Zombie swarms
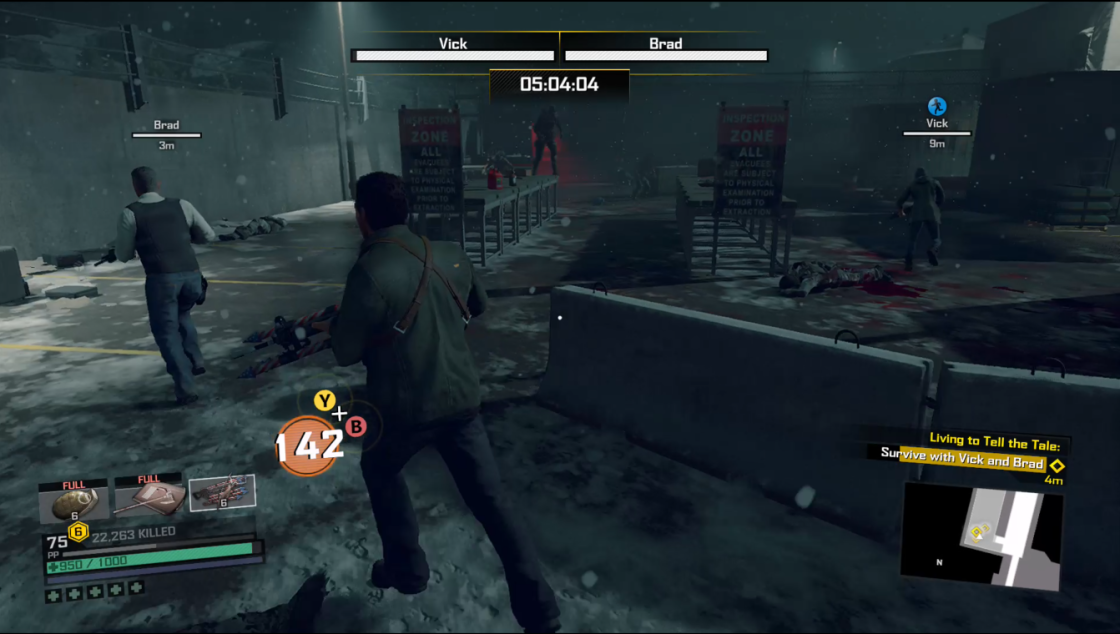
Last Stand Area 2 - Quarantine Checkpoint
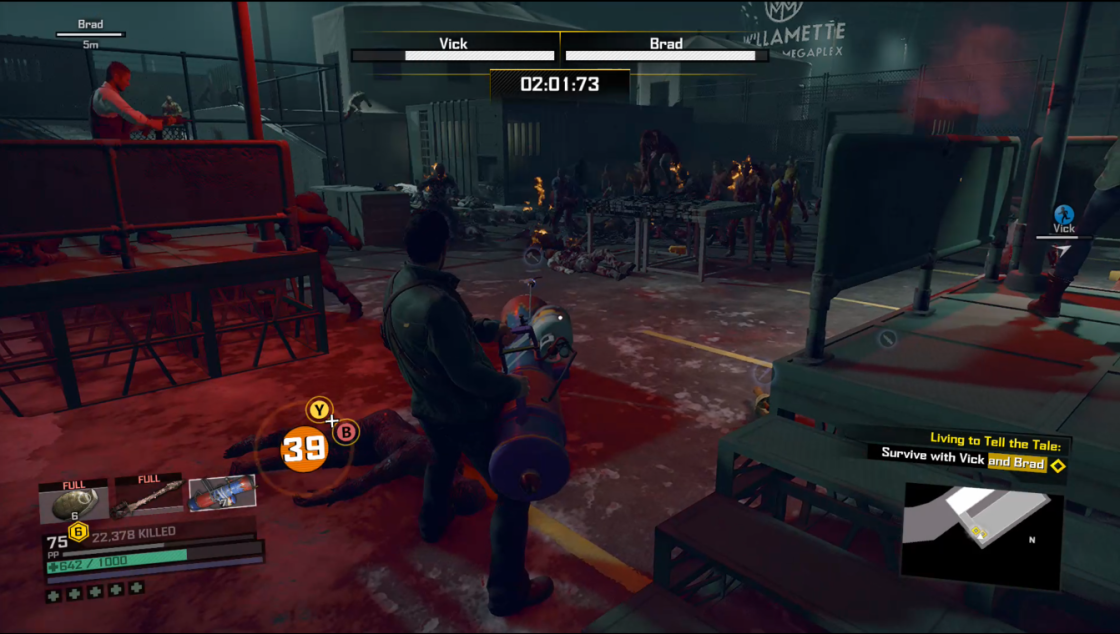
Last Stand Area 3 - Containement
Additional Mission Design
While I became the Case 6 owner for the final version of the game, I had also contributed towards other Case designs, side content, and various iterations of the game and story throughout my time on the project.
- Designed and iterated on drafts of Case 2 and 5, the bones of which are still intact in the game today.
- Designed proposals to utilize cut character models for additional content to expand the value of the game.
- Assisted Photography Feature Designer in investigation filter encounter setups to prove out interesting puzzle mechanics and use-case.
- Designed and prototyped dynamic investigations with randomized clue placements.
- Designed and prototyped sequential dynamic encounter progression based on previous encounter engagement.
LEVEL DESIGN
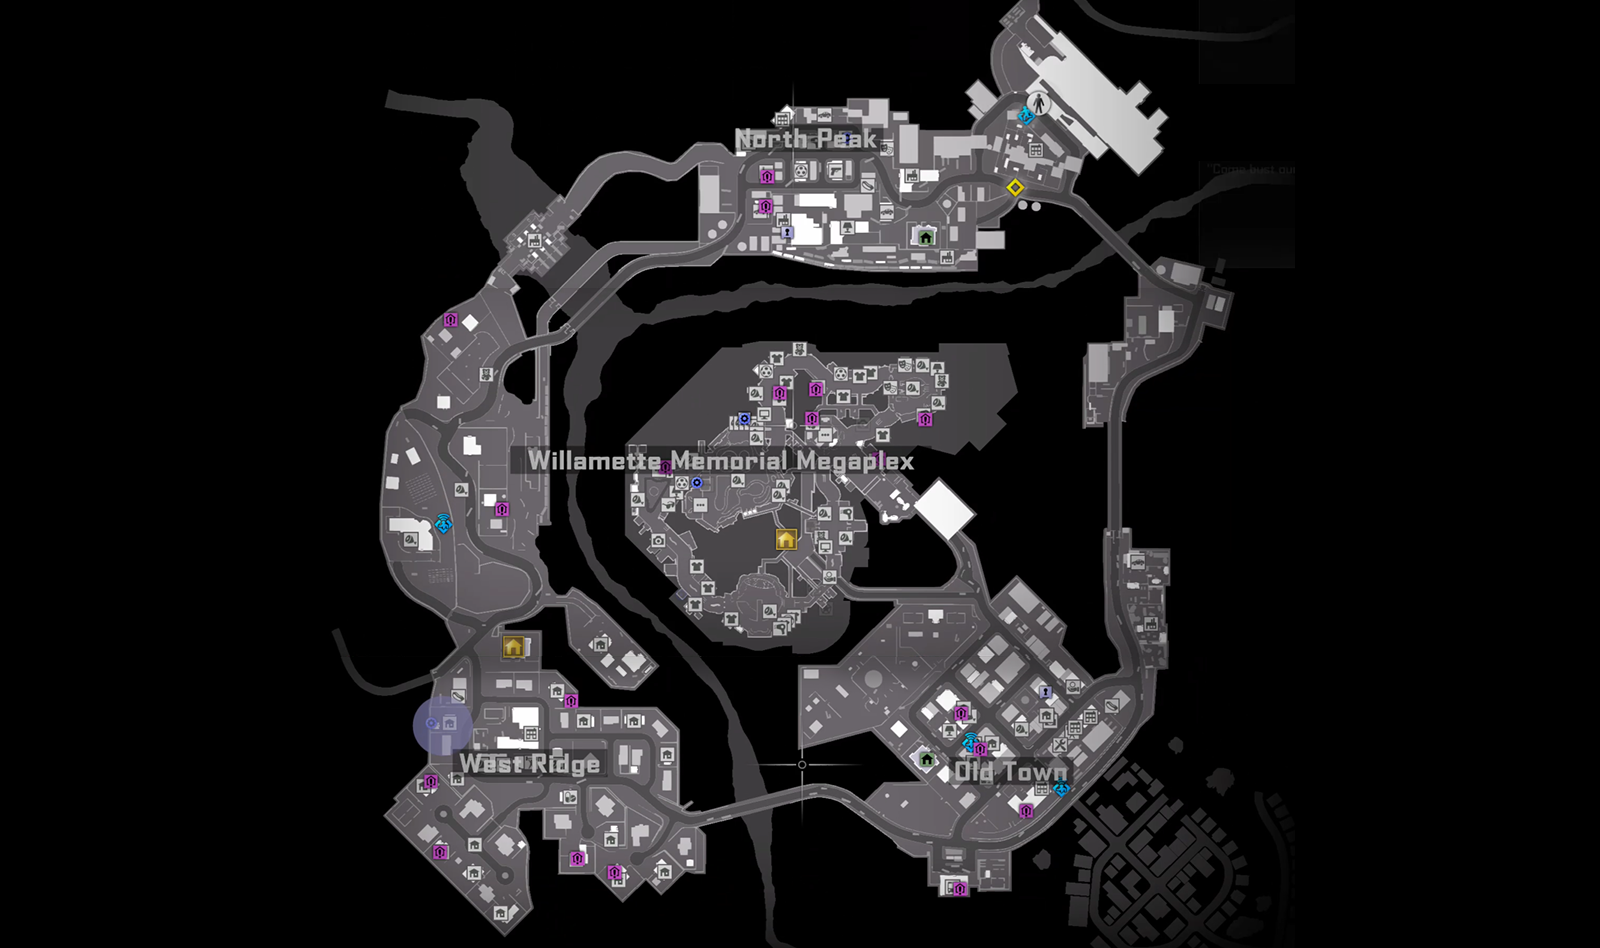
While a lot of DR4 mission design required working with an established world layout, I was lucky enough to be able to impact level design for one of the mall areas, and the addition of the mall’s exterior parking garage for use in Case 6. I worked directly with the Senior Level Designer, environment artists, and lighters to plan, design, and implement the vision for these areas from start to finish.
Case 6-1 - Chase Layout
The chase in 6-1 takes place in mall areas traversable early in the game, so it required a lot of level designing around existing spaces. Using custom zombie spawners, zombie flow volumes, NPC waypoints, custom gating, and a lot of trial and error, the design came to life.
- Section 1: Miami Boardwalk – This first section is streamlined, allowing for an ease into the chase. Zombies are clustered around the periphery, giving a clear path forward with minimal interruption.
- Section 2: Mall Hallways 1 – Players have a few different paths to choose from, with varying degrees of difficulty. Following Vick up to the 2nd floor allows players to either crash through small pockets of zombies, or chase Vick directly and have to dodge her flash grenades. Players can choose to follow on the 1st floor, but it is heavy with zombies and far more difficult than the other paths.
- Section 3: Caribbean Cove – This area only has two choices: follow a winding path of least resistance, or swim through large clusters of zombies. As you approach the end of the area, Vick disappears behind a 1st floor shutter. Additional logic was added to prevent players from getting ahead of her.
- Section 4: Mall Hallways 2 – This section is low action, with few zombies in your way, allowing you to focus on the dialogue and sound effects leading up to the final boss.
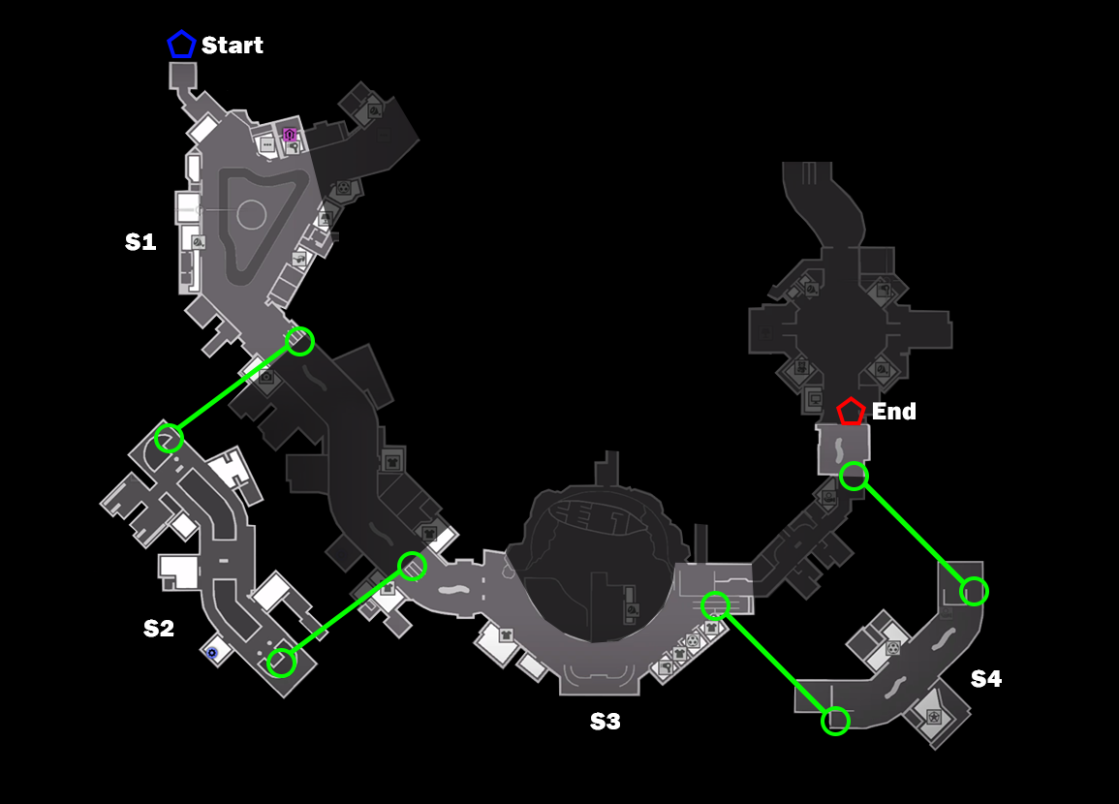
Case 6-1 Mall Map Layout
Case 6-2 - Final Boss Arena Layout
Kiichiro Plaza was built from the ground-up to facilitate the Calder Battle. It contains two floors, shutterable storefronts, custom spawn closets, a dynamic lighting system, and various Exo-Suit weapons available for play.
- Layout – The layout was designed to maximize store front space (a hallmark of the Dead Rising series), and space for the boss fight. The lower arena contains the main fighting zone, and the upper levels allows for funneling zombies down into the arena.
- Dynamic Lighting – The arena’s lighting is designed in 3 parts, allowing for them to be dynamically switched on and off. This drastic lighting change emphasizes the power of the boss, and your progress against him.
- Spawn Closets – Each of the 3 giant TVs on the walls of Kiichiro Plaza have a set of spawn closets that funnel zombies down into the arena. Both base zombies and jumping evo zombies spawn here.
- Storefronts - Each storefront in the arena has a mission triggerable shutter. Some storefronts open up based on battle progress, revealing weaponry, health items, and the indomitable Exo-Suit necessary to combat the boss.
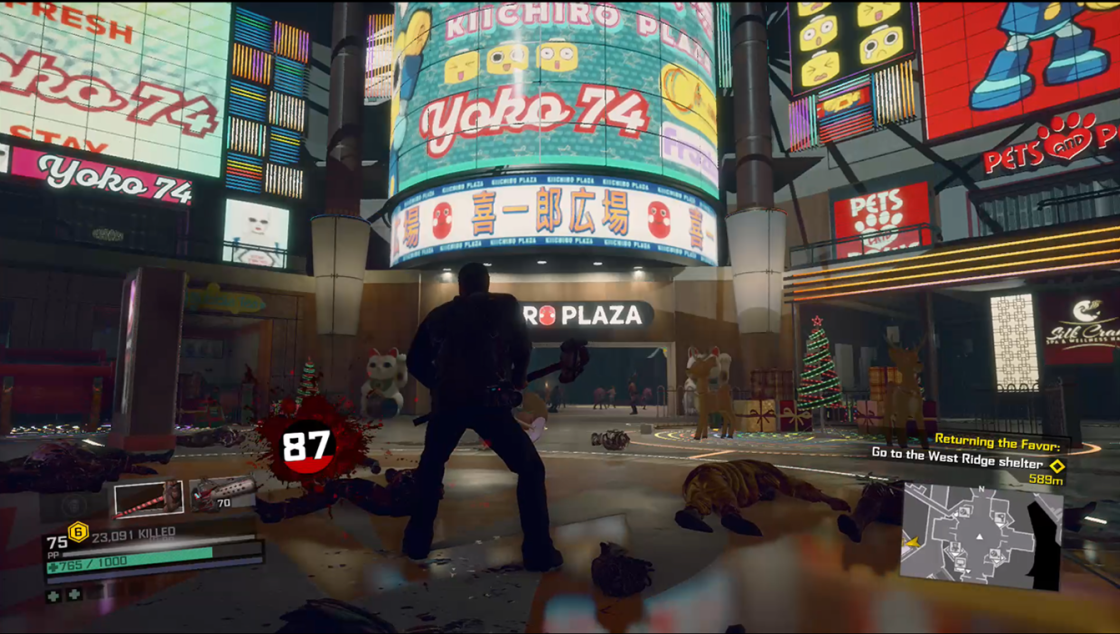
Kiichiro Plaza - Fully Lit
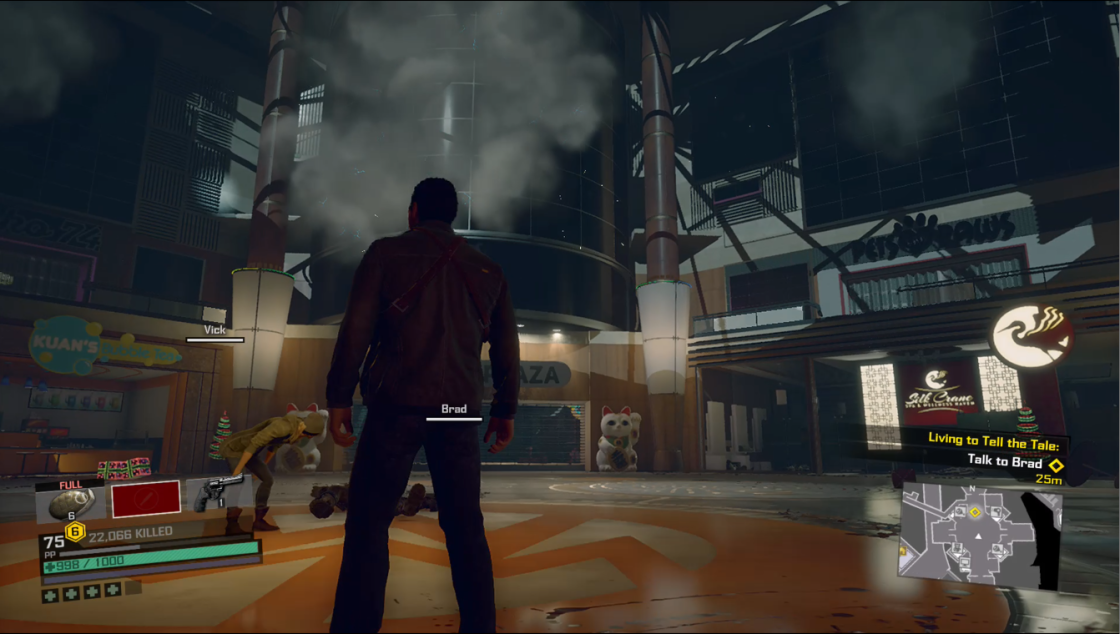
Kiichiro Plaza - Post Battle
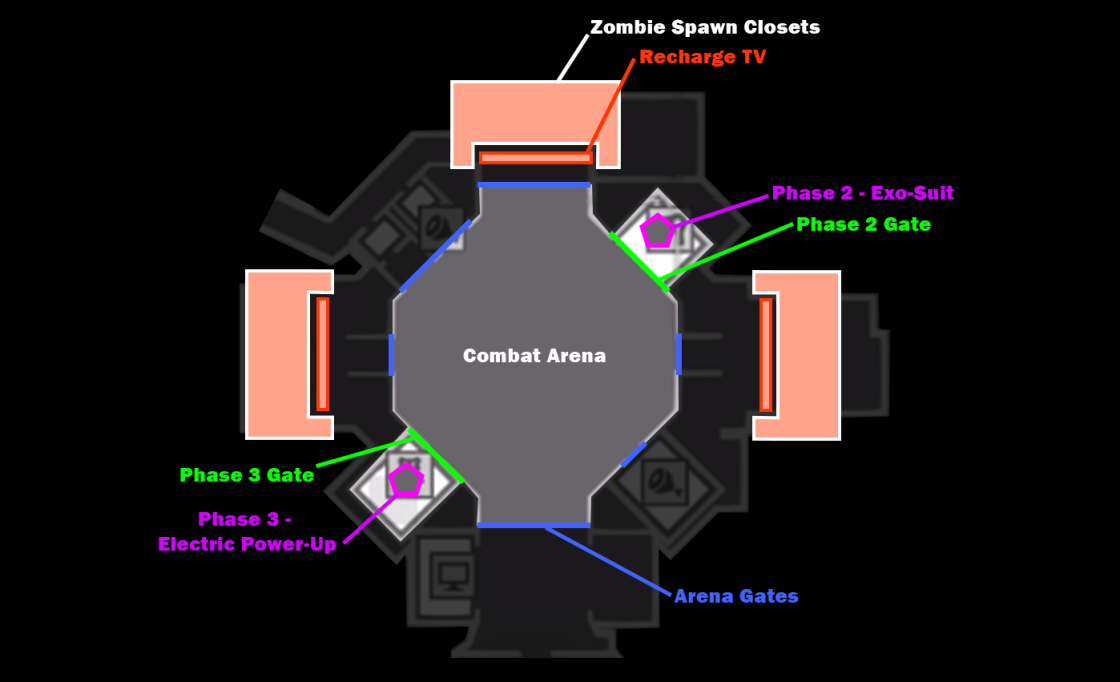
Case 6-2 Combat Arena Layout: Power-Ups and Spawn Closets
Case 6-3 - Parking Garage Roof Layout
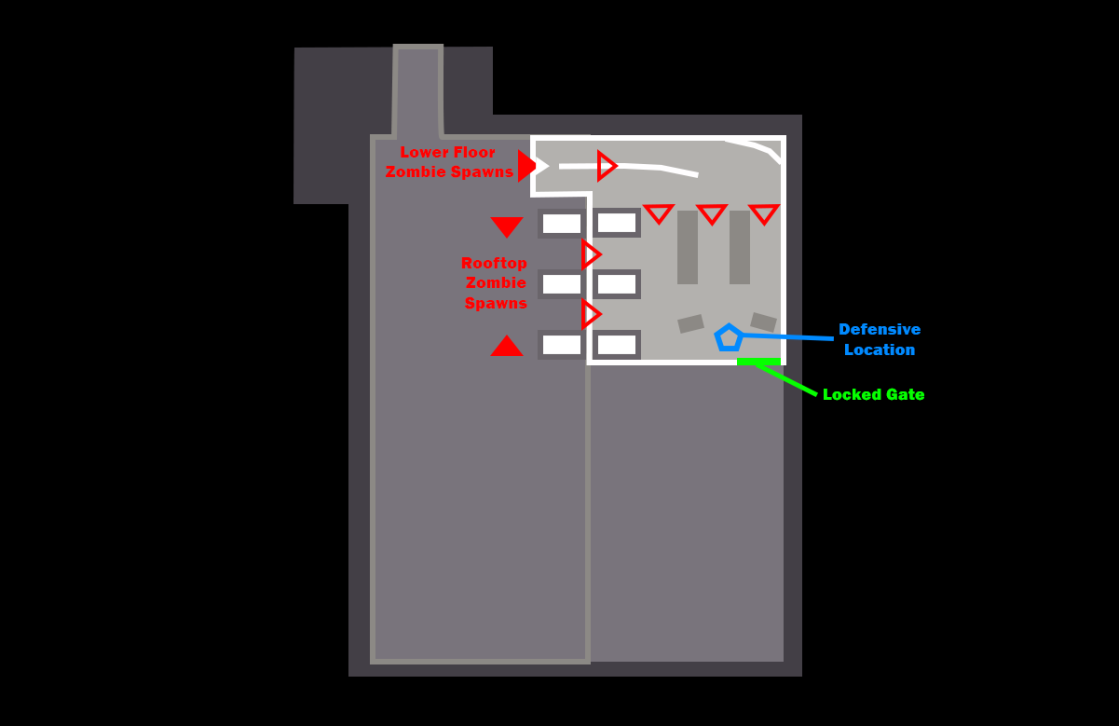
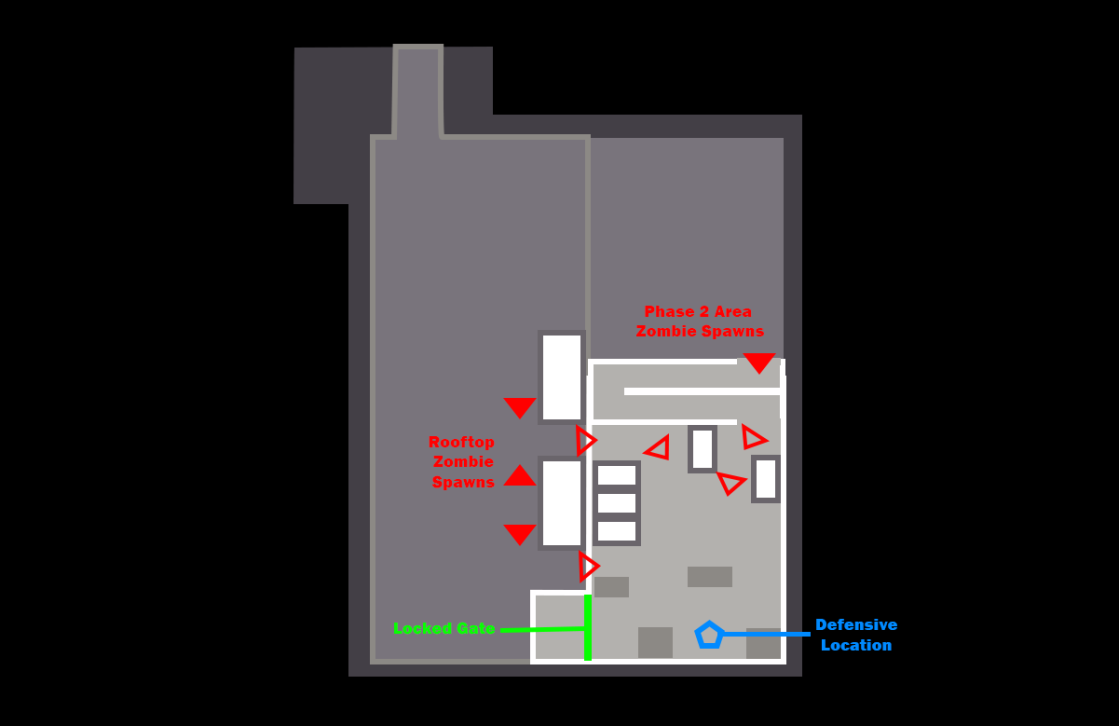
The top of the exterior parking garage is connected directly to the mall via skywalk and is split into three stages for the last stand. The area is set dressed as a paramilitary quarantine, culminating in a helipad on the top. Players move from each area based on a timer, which is themed as Brad unlocking shutters and gates that block your path forward.
- Layout – The layout is set in three stages to prevent the player from racing to the end, heightening tensions, and making it feel like your back is constantly against the wall.
- Zombie Spawning – The zombie spawning volumes are all set behind barricades, corners, cages, and quarantine tents. Flow volumes are heavily used to constantly drive them towards your location. Spawners and flow volumes dynamically turn on and off based on your location, so they always spawn closest to your position, but out of sight. This helped turn a max zombie count of 150 into an ever-present threat constantly moving towards you.
- Item Placement – Items are sparse, and seemingly random. Each item placed is a component of one of the game’s Combo Weapons, allowing for clever players to hodgepodge powerful weapons from the dwindling supply
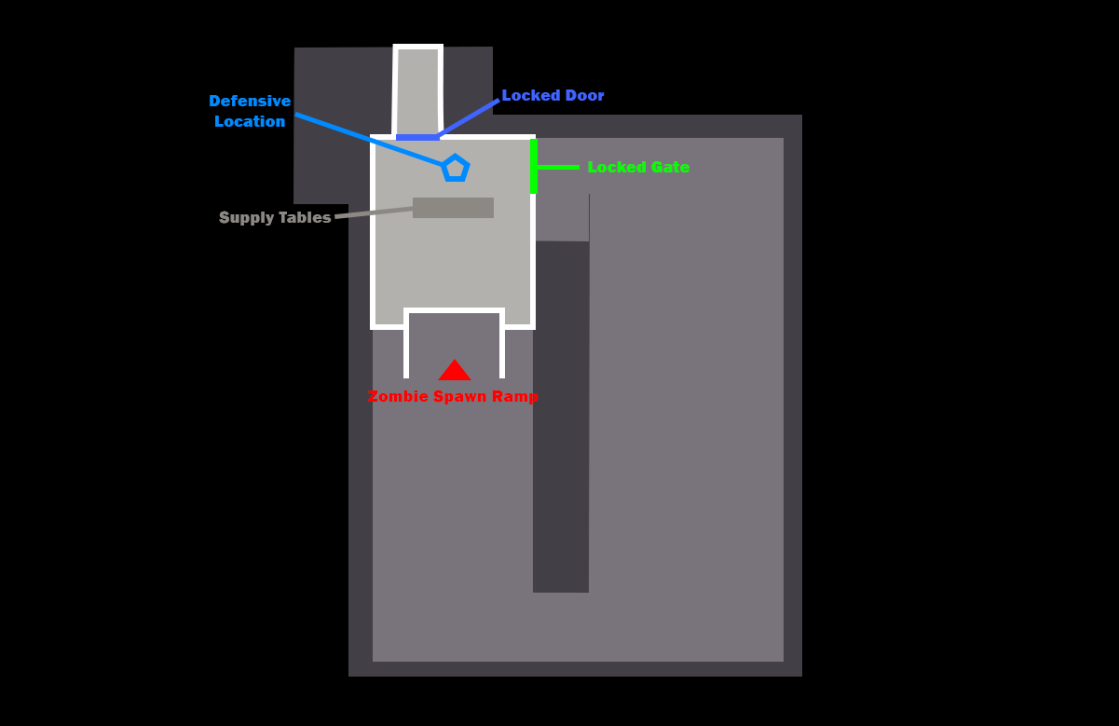
Last Stand - Phase 1 Layout
Last Stand - Phase 2 Layout
Last Stand - Phase 3 Layout
Additional Level Design Work
In addition to Case 6 level design, I also contributed to various other aspects of game level design.
- Assisted world zombie placements and progression changes to their density and location.
- Assisted with world weapon and item placement.
- Designed and implemented dynamic enemy and supply encounters that change based on player progress and location.
- Designed and implemented triggerable mall shutters for Mission Designers to open and close based on mission needs.
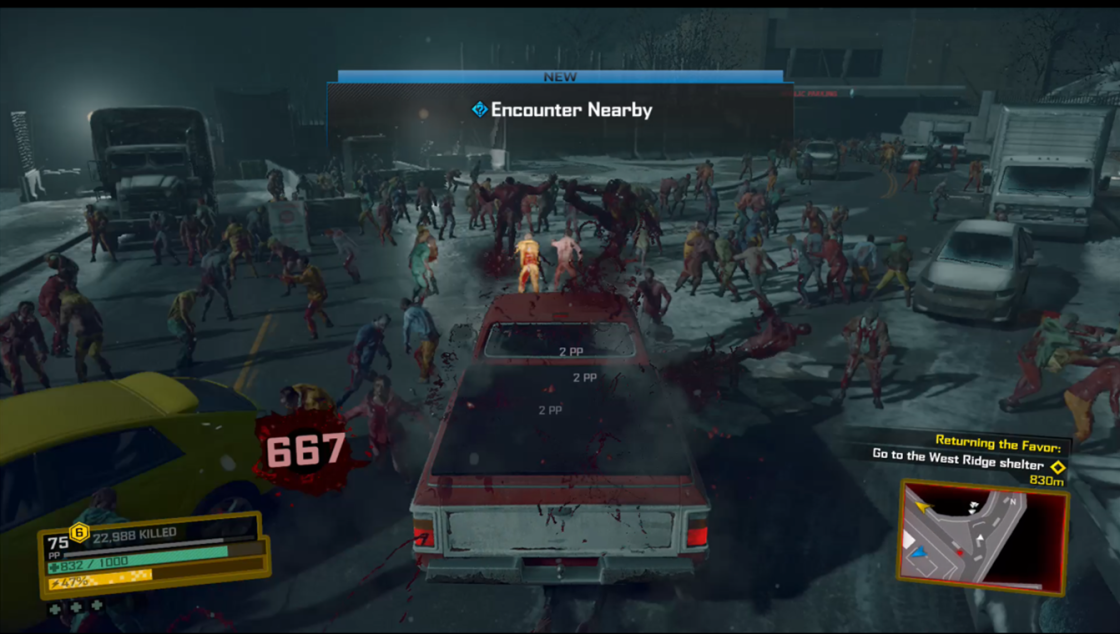
Dynamic Encounter trigger presentation
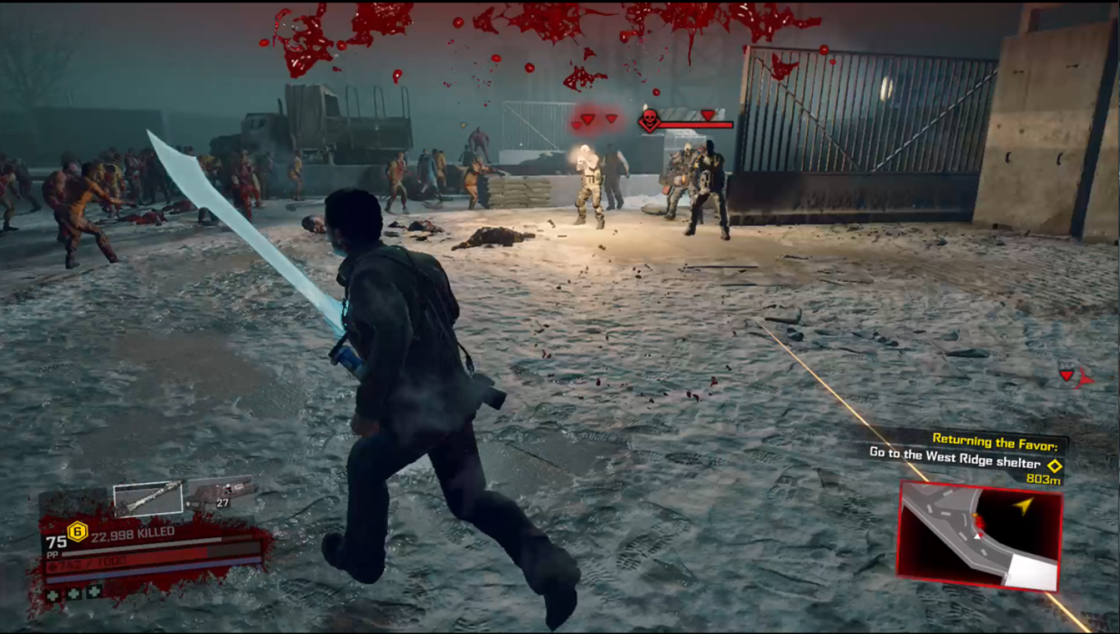
Dynamic Encounter - Obscuris enemy group v zombie horde
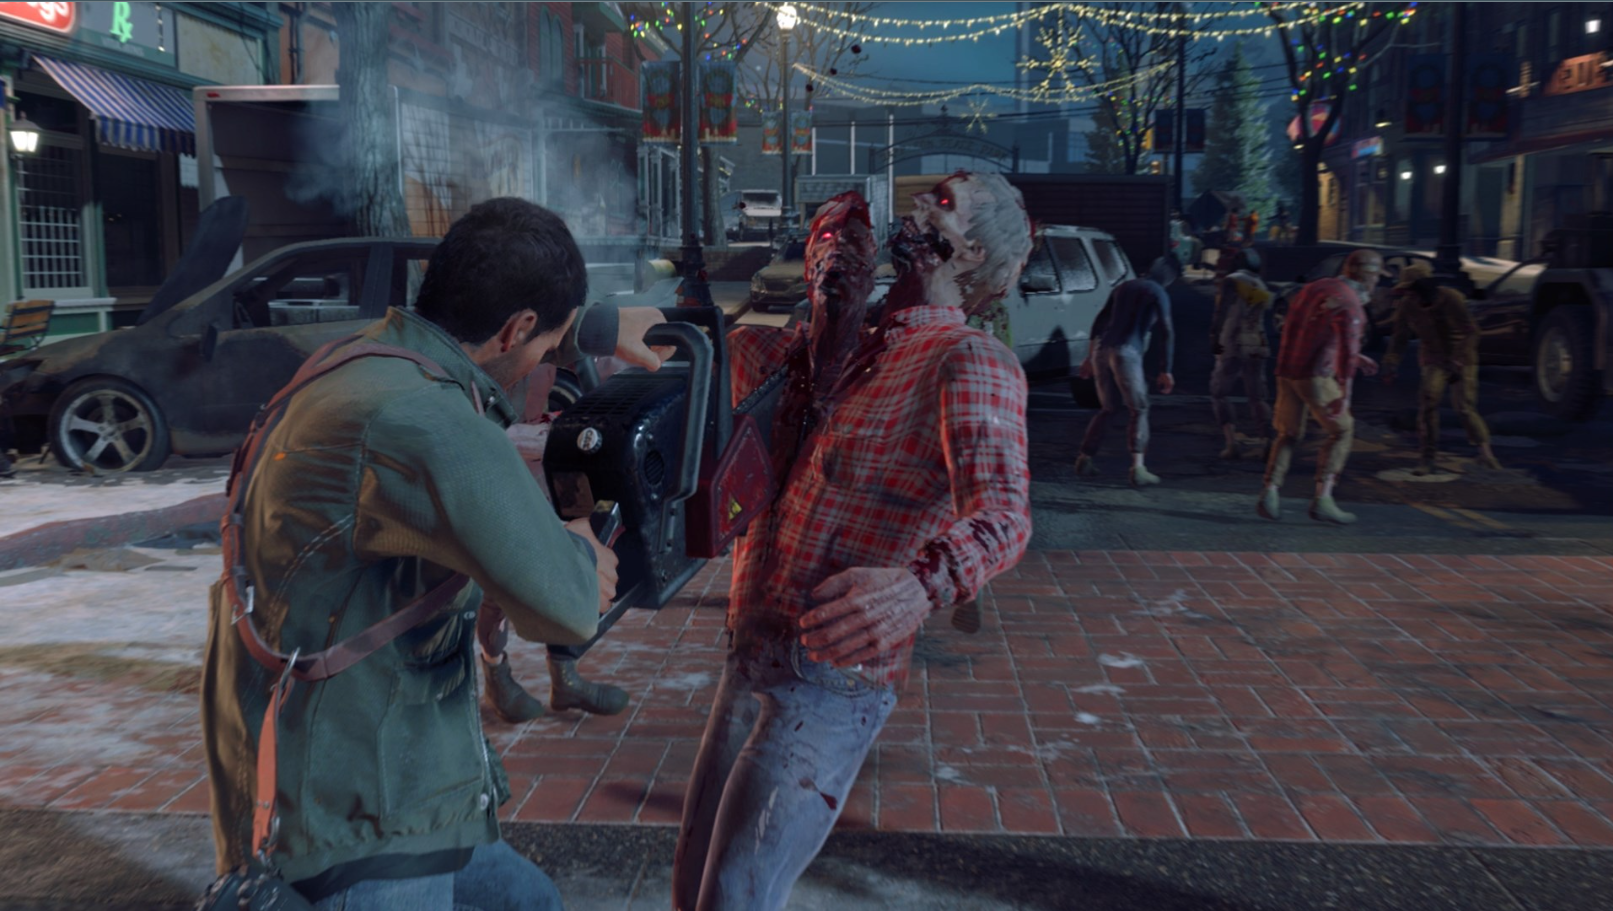
GAMEPLAY DESIGN
Gameplay design is one of my biggest design passions, so I ended up hanging around the Gameplay Designers often, picking their brains and helping bridge the gap between the two departments. Through that, I worked quite closely with a few folks on the NPC waypoint system, and getting the final Calder battle set up.
- Worked with AI Designers to design the final Calder boss fight mechanics, staging, and necessary hooks. I also advocated for the writers to ensure we hit a narrative catharsis with character development arcs via gameplay.
- Designed a proposal for Nightmare difficulty mode to meet player/fan expectations of a difficult zombie game utilizing low-cost, high value, low-risk changes. While we didn’t have the resources to implement it for initial launch, it was eventually added as post-launch content.
- Prototyped interactive props to increase the way player could use the environment to their advantage. This includes shootable mall physics ornaments, triggerable gates, smashable signage props, interactable frozen zombie spawns, and dynamic delivery truck loadouts.
NARRATIVE DESIGN
As a narrative buff, I was extra keen on making sure that our mission moments, gameplay, and story were running in parallel to create memorable experiences. Across the project, I brainstormed story and mission beats with the writers, worked with them heavily to direct the end of the game in Case 6, implemented dialogue strings and voice overs, and adjusted content based on writer feedback.
DESIGN LEADERSHIP
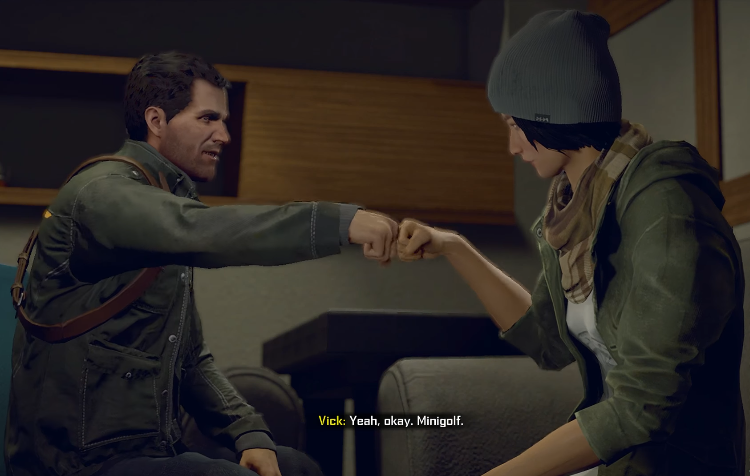
Even as a junior designer on DR4, I did my best to become an expert in my discipline. I quickly became a go-to designer for Mission Scripting knowledge, answering questions and helping fellow developers with anything they needed a hand with.
I helped train and mentor two other junior designers later in the project on how to use our engine and tools. I also shared knowledge and mission progress during studio meetings on several occasions, and even started up and gathered resource for a studio design book library.
Teamwork


